So beach holidays in the UK sometimes don’t include sun and this page is all about that!
The page is using up papers from the #100patternedpaper challenge pile and I had put them together into a page kit pouch when sorting out embellishments. But I actually made it as part of the (inter)national scrapbooking day/weekend for one of the challenges in the HLM Facebook group where the challenge was to use stencils!
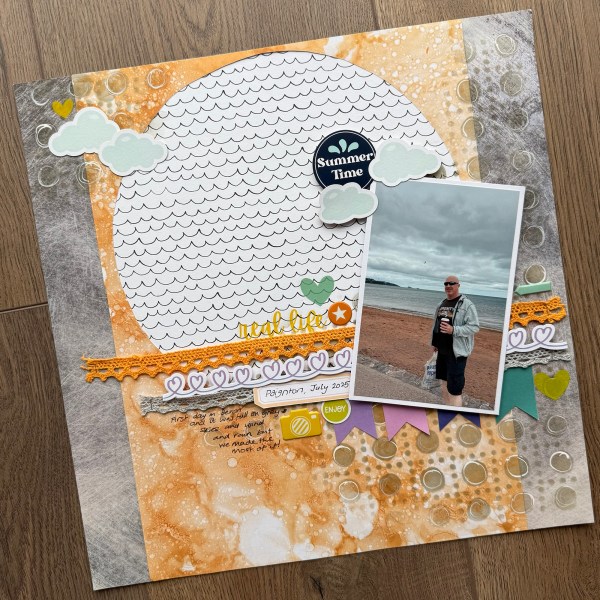
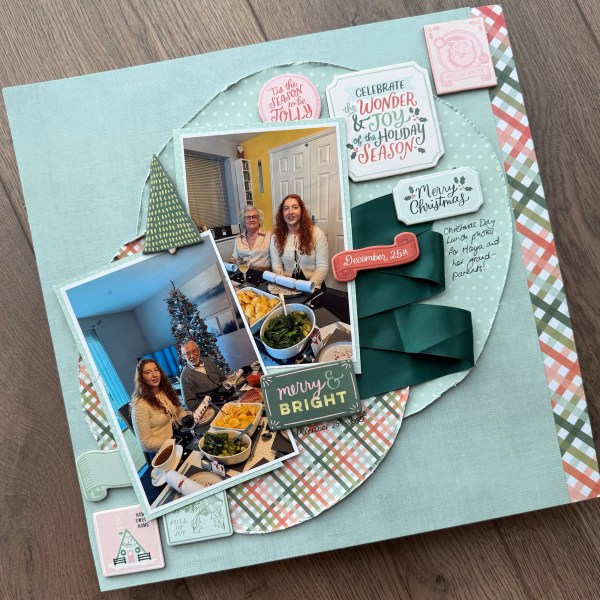
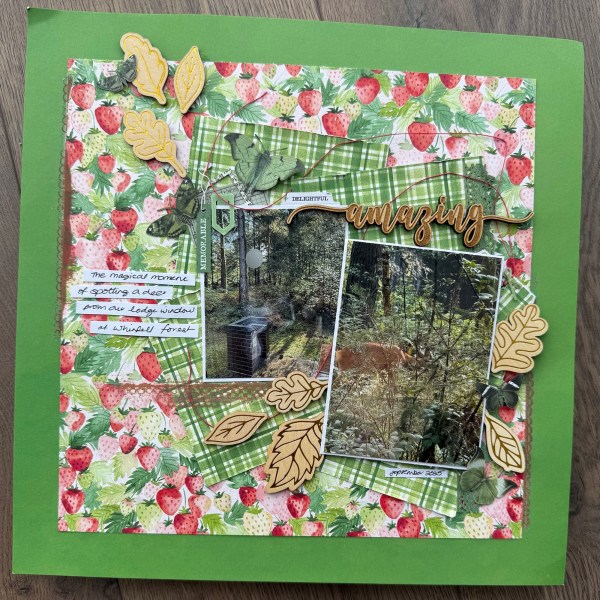
So the orange paper had a big circle cut from it so I backed that with the wavy lines paper and made that into the centre of the page – choosing the textural grey for the background to go with the colours of the sky and the walkway by the sea in Paignton.
Then I used a Tim Holtz stencil and some quite dried up Early Espresso ink to add some pattern to ground the photo and then again top left to balance.
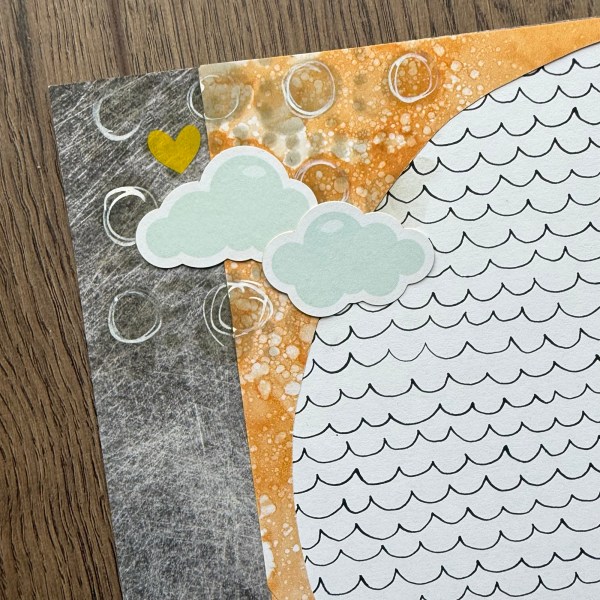
I then used a white posca pen to doodle the larger circles I had stencilled – I thought this added whimsy to the page and worked with the wavy lined paper!
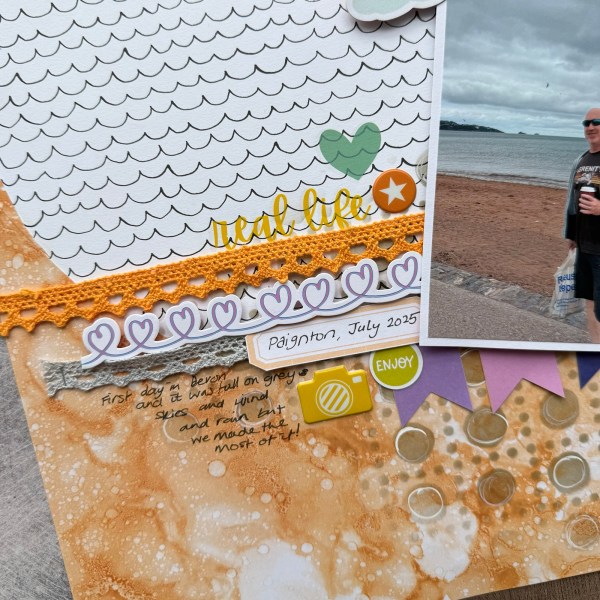
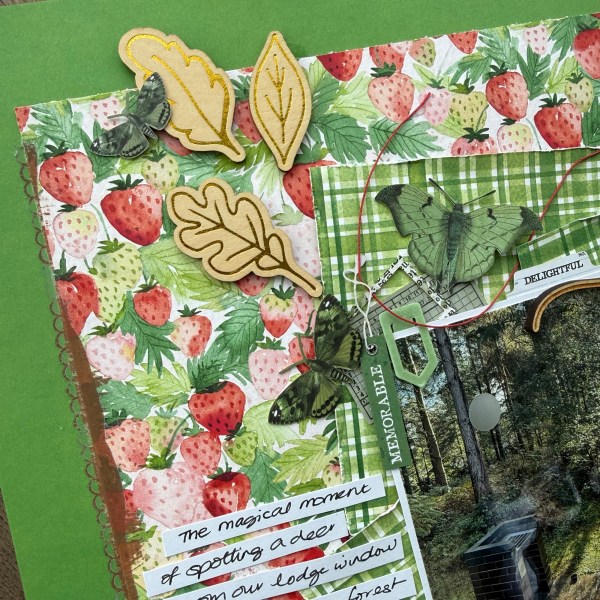
I then added two lines of the trim which I used the tiny attacher to attach! Then I started pulling ephemera from some Kingston Crafts kits … like the heart border, the banner flags, the clouds and some stickers and rub ons.
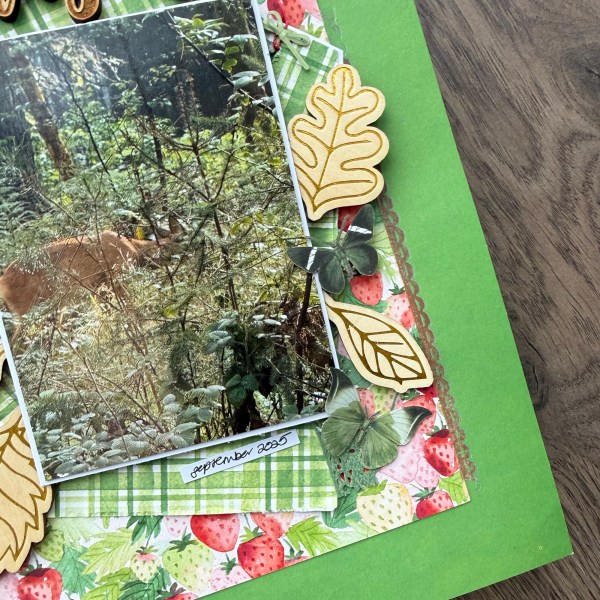
I raised the photo and a few embellishments up on foam adhesive for dimension, but also so the photo could sit above the trim elements.
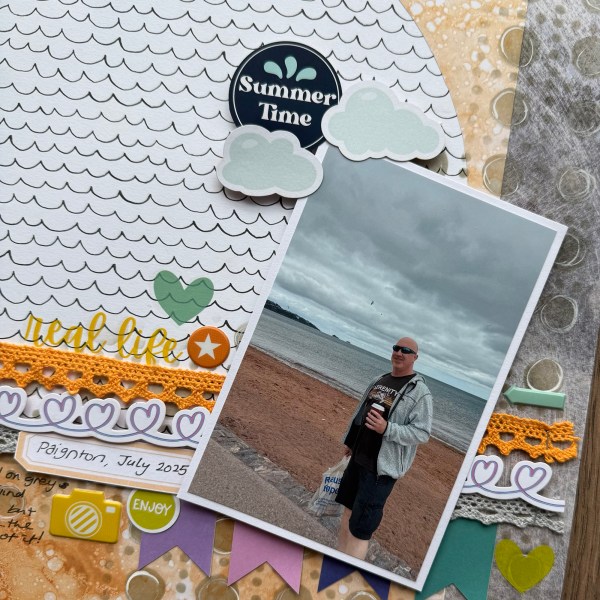
I added my journalling and thought the Summer Time sticker was a good title (although the real life rub on could work as the title too!)
A fun page! particularly like the doodled elements on the stencilling – think it helps bring them out!
Happy crafting!
Catherine